Spring Garden Party Decorating Plan: Bunting, Flags, and Table Settings
A spring garden party doesn't need more decorations. It needs a plan. Bunting, flags, and a table that repeats the same three colors will do more for the look than a carload of scattered props, and they go up quickly when you know where everything belongs. What follows is a simple order of work: choose the palette a week out, map the route before you hang a single line, then finish with flowers an hour before guests arrive.
Before you buy a flag or a ribbon, settle on three colors and one neutral. Three is festive enough to read as a theme and few enough to stay tidy.
Spring offers plenty of good combinations: blush, sage, and butter yellow; sky blue, white, and lemon; lilac, mint, and warm cream. Let one color lead. It should cover roughly half of what guests see, with a second color supporting it and a third saved for small accents such as napkin ribbon or a handful of flags worked into the mix.
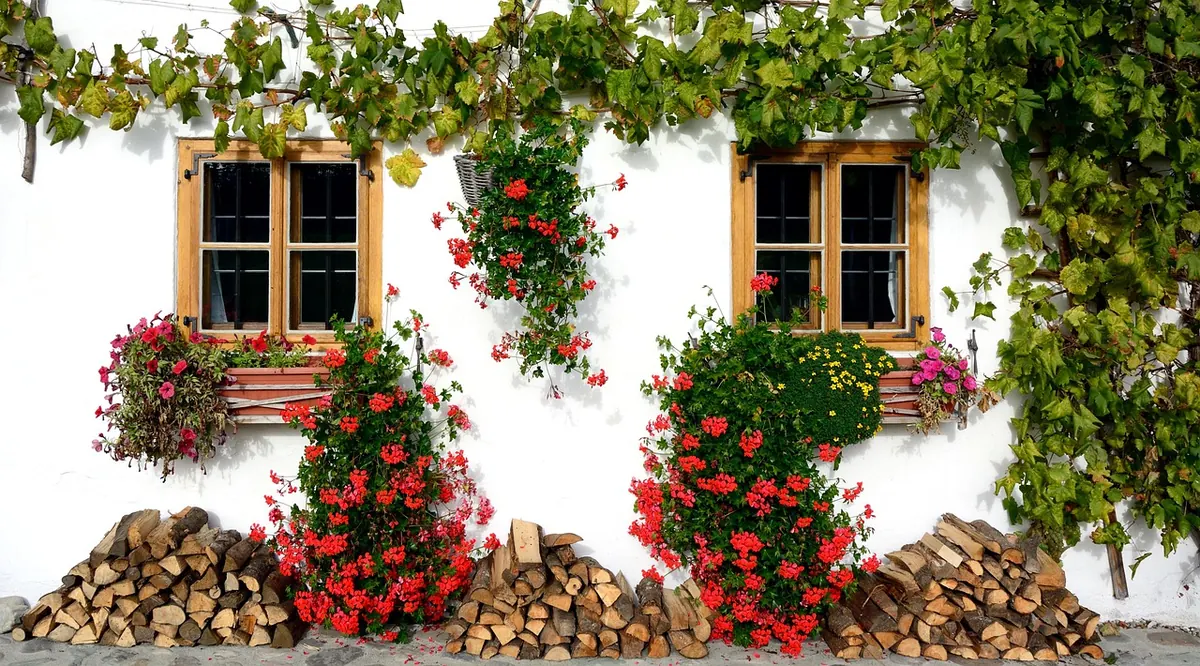
Step outside before you commit. If your yard is full of daffodils and grape hyacinth, a lilac-and-cream scheme looks intentional. The same scheme next to hot pink azaleas can look like a mistake. Echoing a color already blooming in the garden is the cheapest way to make a party look designed.
Keep the palette somewhere you'll see it while shopping. A note on your phone is fine. Drifting into a fourth and fifth color at the checkout counter is the most common way a clean scheme turns muddy.
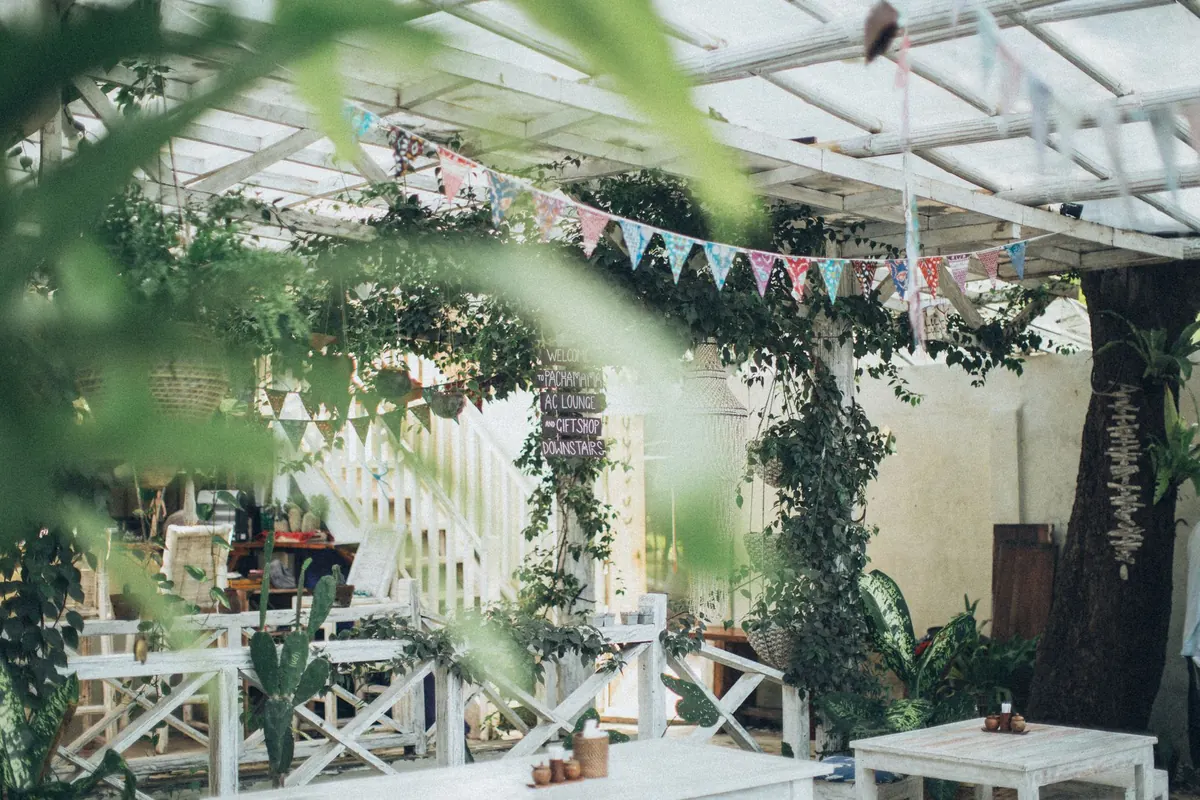
Guests follow a path whether you plan one or not: through the gate, along the walk, to the drinks, then to the table. Bunting works best when it marks those transitions rather than covering every available surface.
Hang your fullest, densest run where people first walk in and where they'll likely stop for photos. A generous swag across the gate with a shorter run on each side frames the entrance without turning it into a tunnel.
Between two posts, across a pergola, or from the house to a tree, keep the lowest point of any swag at least seven feet above the ground. Anything lower catches hair and hats, and someone will duck all afternoon. Tie to screw eyes or wrap soft twine around posts and trunks; avoid driving staples or nails into the bark of a tree you care about. Space tie points every four to five feet so long spans don't sag into a shallow smile.
Small flags on short stakes, set three or four feet apart through the lawn, quietly guide people from the gate to the table. Save one denser cluster for whatever you want guests to look at, the drinks table or a single showy shrub in bloom.
Spring weather is the one thing you can't plan around, so choose materials you can live with. Cotton and cotton-blend bunting looks softer and photographs better. Polyester sheds water and dries fast. Paper pennants are lovely on a still, dry afternoon and will not survive a gust or a shower.
Before hanging anything, run through this:
One more habit worth keeping: let bunting dry completely before it goes back in a bin. Damp fabric folded into a closed box is how mildew gets started, and mildew does not come out.
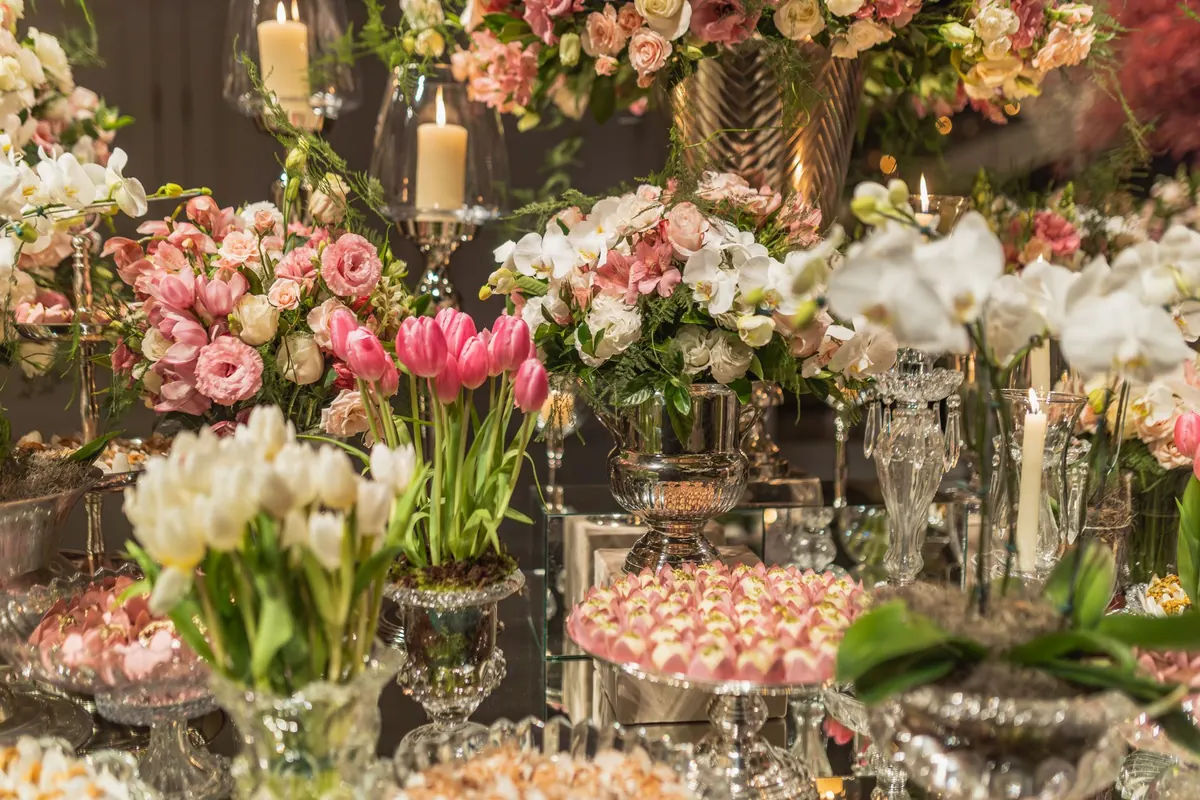
The table is where the palette earns its keep. Start with a plain cloth, white cotton or natural linen, and add a runner in your lead color. That single layer does most of the work and makes even mismatched plates look deliberate.
Keep centerpieces low. Anything over about a foot tall blocks the view across the table, and the view is the reason you're eating outside. A row of small bud vases, a shallow bowl of blooms, or a few potted herbs is plenty.
Then repeat the bunting colors in small, inexpensive places: a ribbon tied around each napkin, a pitcher in the accent color, place cards cut into a flag shape, a slice of lemon in the water glasses. Give each guest about fifteen inches of table edge, and keep a stack of spare plates at one end so nobody has to interrupt a conversation to hunt for one.
Working in that order means the things people notice first get your freshest attention, and the things that wilt get your last ten minutes.
Take the bunting down before evening dew settles if you can, shake it out, and lay it flat to dry. Coil each run separately and label it with where it hung; next year you'll be able to repeat the good lines and skip the ones that fought you. Snap one photo of the finished setup before guests arrive, so you have a record of what worked while it's still standing.
That's the whole plan, really: three colors, one neutral, a route marked in small steps, and a table that echoes it all. Set it up in that order and you'll have time to sit down with a drink instead of adjusting a sagging line while everyone else eats.
Photo: Matheus Bertelli / Pexels
Previous Post
Wind, Rain, and Sun: How to Protect Outdoor Garden Decor Year-Round
Next Post
Coastal Bunting Guide: How to Choose and Hang Bunting in Windy Seaside Gardens